Magento is a world class e-commerce or online store website develoment tool. Its a PHP based CMS that works like a charm because it is free of cost available to use with a huge theme and extension gallery by its community. So if you have a plan to learn Magento to create elegant and fabulous online stores for you or for you clients or for you company then you need to learn its installation procedure. Magento can be installed mainly in two ways: 1. only magento 2. magento with sample data.

This Magento installation with sample data tutorial will cover the second one as it is little complicated while the first one is very straight forward and you can do the first type of installation yourself too if you have installed WordPress or Drupal or any other PHP CMS.
Sometimes installation of Magento becomes a nightmare for you because its installation with sample data is little complicated. So I decided to help some people those are looking for step by step installation of Magento with Sample data.
After downloading full release of Magento and Sample Data from http://www.magentocommerce.com/download this link you can start following the below given steps.
Note: I am assuming that you are working on localhost using wamp server so all the below given steps are on that point of view. If you have other environments then your own discrimination is accepted. You can post your problems in comments too.
1. Create a database using phpMyAdmin suppose database name is mag_db

2. You will notice a .sql file (magento_sample_data_for_1.9.1.0.sql) in your Sample Data folder, please import that in mag_db database using phpMyAdmin
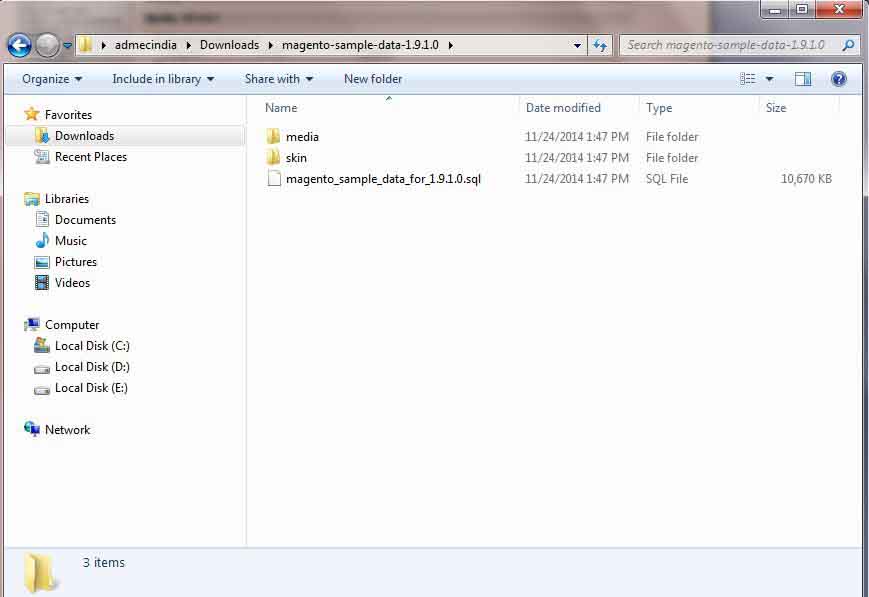
3. Extract both of the downloaded folders and I suppose you will get magento and magento-sample-data-1.9.1.0 folders
4. Copy the entire full release folder (probably folder name would be magento) that you downloaded and paste in your www folder inside the wamp folder (wamp->magento)
5. Copy the media and skin folders from the Sample Data folder.

and replace media and skin folders in the magento folder (wamp->magento->media and wamp->magento->skin)

6. Now go to the localhost in your browser (don’t forget to start WAMP) and click on the Magento folder. Congrats your setup is ready to take off, follow the steps, and you are done.
7. You can go to your front end using localhost/wamp/magento

and backend localhost/wamp/magento/index.php/admin

Hope you liked it. Don’t forget to share your doubts and suggestions in comments.
Thanks


